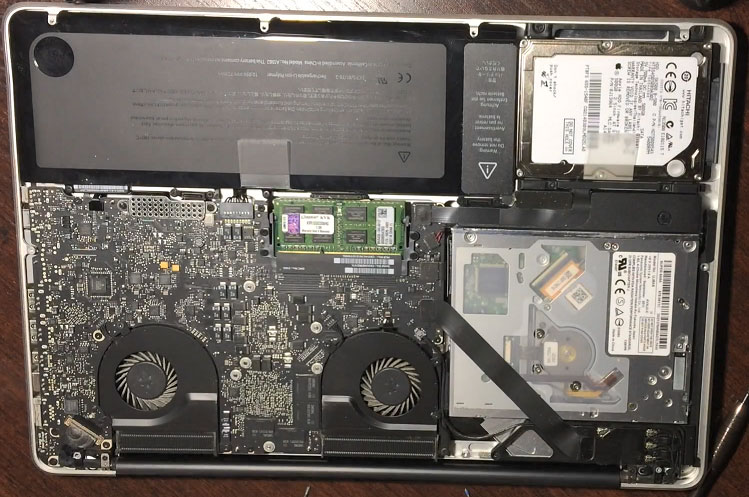
On the test, I replace the standard HDD Hitachi 500Gb with the fast SSD Kingston 120Gb.
The removed HDD can be installed in the future instead of the drive for disks.
The replacement process was filmed on video:
After replacing the drives, the old HDD I connected to the MacBook via an external USB pocket in order to clone it to an SSD.
The system can be started from the old HHD via USB, it does not matter where the disk is inside or outside.
Similarly, you can connect the SSD via a USB pocket in front of the Earth drives, make a copy of the system and check the startup.
I on the test started the system from the old HDD through the USB pocket and cloned it into a live SSD and installed the program Carbon Copy Cloner. About 30GB was transferred for an hour and a half, upon completion, disconnected the HDD and the system started already with SSD.
The second option, which I prefer, is to install a clean system from the Internet to a new SSD. To do this, when the MacBook is turned on, you must press the Option key (Alt) or Command+R keys simultaneously, then select Recovery and in the pop-up window choose Reinstall OS X, after which the latest version itself will download from the Internet and will be installed.
By the way, in this recovery mode, you can select “Disk Utility” in addition to reinstalling, erase the new SSD and restore the system from HDD to it.
Done.
See also my article:
How to enable TRIM for third-party SSDs on MacOS